My Favorite Books

Saturday, February 27, 2021

And we're off!!!


 A few years ago, I made this 'traditional' patchwork quilt top and finished it all by hand stitching/embroidery work.  


In fact, this quilt was lucky enough to make it into the 1000 Quilt Inspirations book back in 2015!  And she was a cover girl on the bottom corner!  


 First up, I've sandwiched the rail fence piece I showed last week and quilted along the seams just to stabilize the quilt so I can do some hand stitching. 


I posted this on my FB page last week showing how I have to baste my quilts on the floor because my dogs are on my sewing table!


They have a great view out front from this advantage point!  They have a dog pillow to lay out and sleep or just bark at nothing!  HA

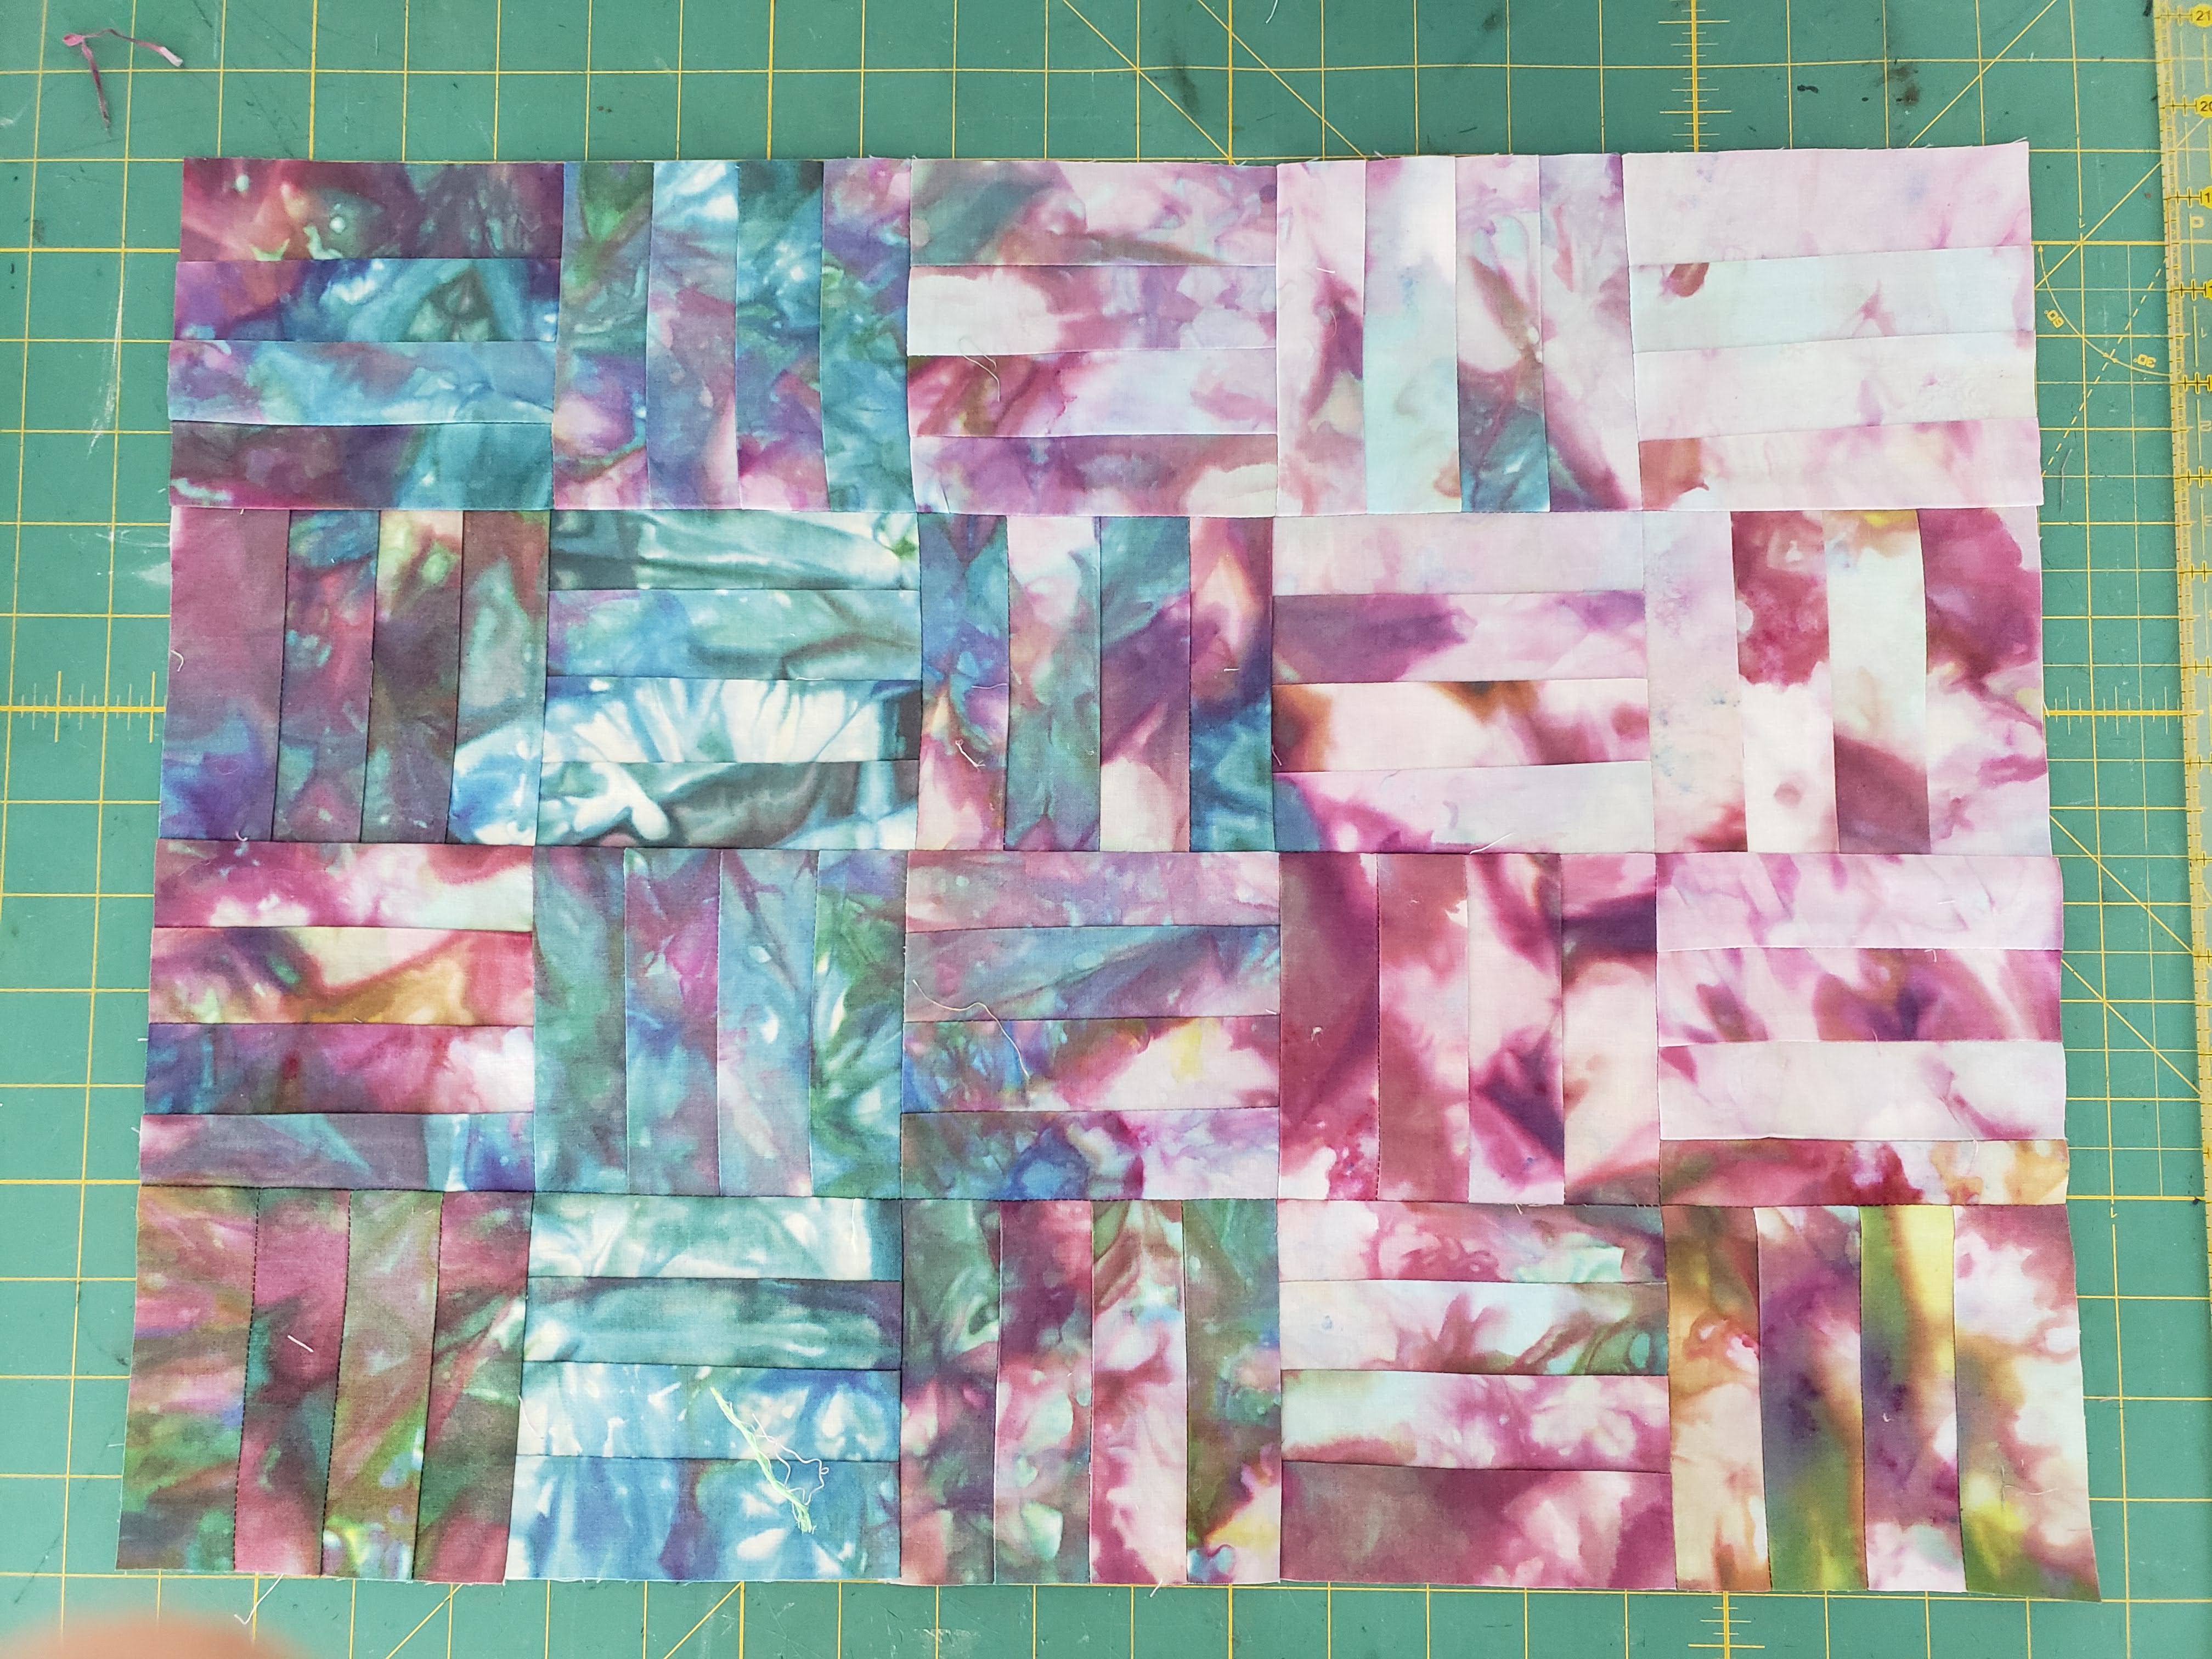
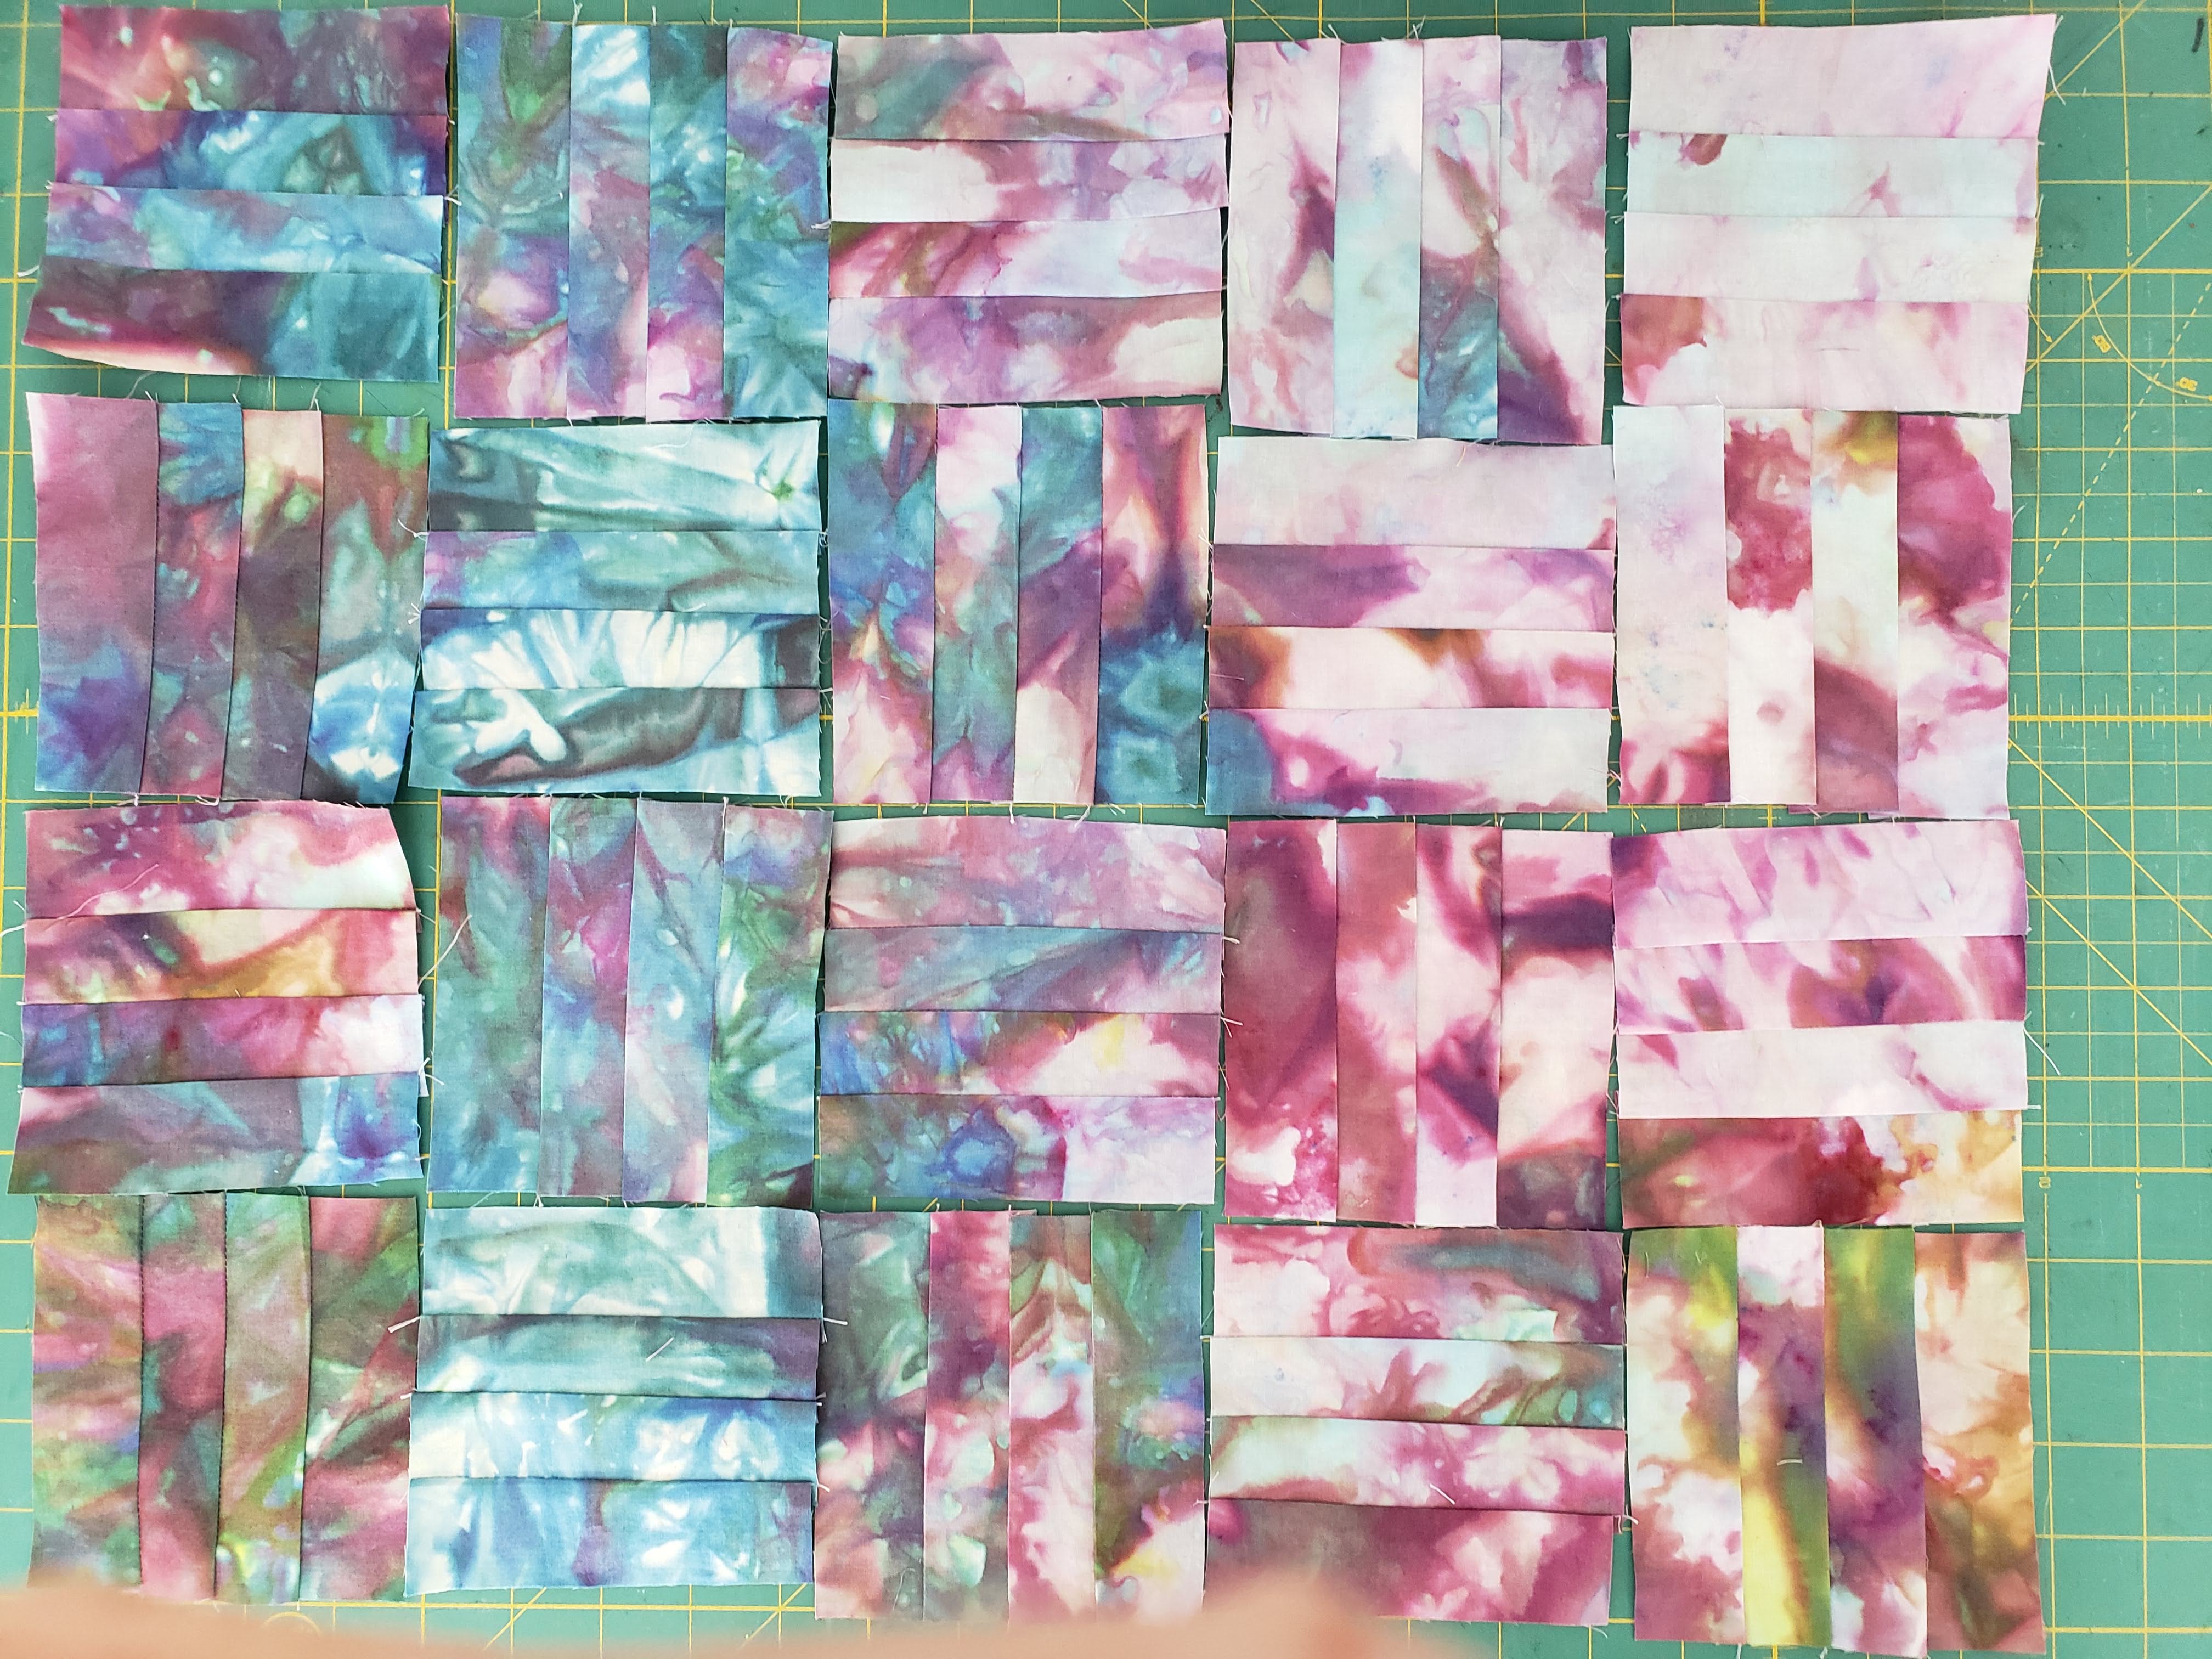
Anyway, I'm using the quilt above as my inspiration for completing this traditional, rail fence piece.  I started to play around with different quilting designs/patterns for stitching.  No free motion...all my hand.   

Now to transfer this pattern to the top...I'm sure I'll change patterns/stitching as I go along but I think this will be a good start!  At least something to work on in between my bird beading project!  Have to have more than one project to work on, right!


Thursday, February 25, 2021

While waiting for beads


I cut up some of my mono print papers and inserted them into the photo cards.  These will be perfect to send to friends and family when I need a card!  I think it made good use of my mono printed papers.


I have to say I've had a resurgence of quilting, sewing and beading lately, which is a good thing.  So while waiting for my order of beads to come, I started another small project. 

A few years ago, on Design Matters TV, Laura Kemshall had a video of how she cut her hand dyed fabrics for a project.  So, I took a piece of my snow dyed fabric and cut it into 1.5"x 4.5" pieces to make a rail fence pattern!  


Next up was to sew each strip together to make a 4.5" block.


You can see a finished 4.5" block top left, strips on the right next to the block and my little pile of strips ready to sew.  Aren't I the efficient sewer!


This arranging is harder than you would think!


This arrangement and the next picture are my favs...so far!


Now the hard part is deciding on the placement to make a decent little top.  I only have 20 blocks...unless I decide to use another piece, that was in the same snow dye container, to cut up for more strips.  Who knows what this 'traditional' gal will do!  Maybe just use some of the blocks to edge another piece...hmmmmmmmm


Tuesday, February 23, 2021

Progress??


It's a woman's prerogative to change her mind, right!  So guess what!  I posted  a week ago on 'going back to my roots' and starting a fused applique quilt.  Well, it's still going to be an applique piece...but..I was looking up the flower, Bird of Paradise, to see where they were native to.  And what else popped up!  Birds!!  Actual Birds of Paradise

This bird is called Paradisaea Apoda or Greater Bird of Paradise.  My readers know my love of beading birds and butterfly quilts...so that led me to my current project!  Yep, I'm going to bead a 'bird of paradise' to place on the applique quilt!
I love the colors of this bird and I think they will certainly work with the flowers.  So I'm calling this quilt "Birds of Paradise"...clever, I know!  😁


But a really funny thing happened, as I was preparing my pattern for the beading!  I forgot how I sandwiched my pattern and what I used! 


Thank goodness I still have the article I wrote for QA magazine back in 2015!  I honestly wasn't sure what to use!  I printed out the pattern on the Wash Away Applique sheet by C&T.  You can use this sheet, as it is also fusible, or Pellon  808 Craft Fuse to feed through your printer (no, I didn't remember the Pellon!).  I print out my patterns vs tracing on the fusible.  At times, I'll actually print in color so it's easier to sew the right bead color as you stitch.


Even with all the beads I have...guess who had to order more beads!  Yikes!  This is were I REALLY miss my bead store in Florida!  The store is about 5 miles from where we stayed and they always had what I needed for a given project.  

I need different shades of brown and gold..and of course I didn't have exactly what I wanted.  Now I'm hoping the ones I ordered can be used...I guess if not this project then another project...

So here I sit waiting for beads to arrive to start. But that's ok...I have another project I started!  Yep, Type A personality!


Sunday, February 21, 2021

Mono Print Layering - Part 2


 My last post showed the 'not so great' mono prints.  These are some that I'm happy with from my last mono printing session.  

I'm using acrylic paints - cheap ones from JoAnn's as well as some Golden Fluid Acrylics.  

This is the gelli plate (8"x10") after I pulled a print!  There was still enough left on the plate for a ghost print.


And the same Gelli plate after I pulled a print above!  I don't always clean my plate.  You can get some interesting patterns by leaving some of the paint on the plate and then do a pull with new paint on top.  You'll see some of the previous colors come up with the new pull. 


This is on deli paper and I think would make a nice collage piece if you ripped sections of the white off or used pieces of it.  You can see some black splotchy areas on the top corners.  That's from some black paint that was left on the plate.  This piece has at least 3 layers of printing on it.


More deli papers...this had 3 layers on it...first was black from stencil, then gold from stencil, then I just pulled up what was left from the black that was left on the plate to tone down the gold.


this is on layout paper, which really takes prints so well.  This will make nice inserts for the cards.


I like this geometric stencil but I will add some dark gray or black on top....the contrast areas with black areas look better than the top with no black.


This one turned out great, I think!  The first was printed with a stencil then I reprinted offsetting the pull!  And for once I did the off set on purpose!  HA  Again, you can see some black coming off the plate with each pull.


I even like the dark print on the bottom.  Again, this is on layout paper.


I love this floral stencil...again, I did some ghost layers and off set the pull.  It might be hard to cut these up.  Only problem, they are printed on the watercolor paper...good for inserts but hate to cut up the stencil pattern.


I like this print but I may want to do a glaze or another print on top.  Either tone it down with a glaze or add a dark stencil.  

So that was my last session of mono printing for awhile.  I want to cut up some of these to make cards to have on hand.  And I have to get back to working on my applique piece.  


Friday, February 19, 2021

Mono Printing Layering - part 1


I wanted to work on printing papers to insert into photo frame cards .   So, I'm breaking this mono printing layering into two posts.  This post shows some that I'm not crazy about but I'm sure if I don't use them 'as is' I'll end up adding more layers!  These are all printed on papers (layout, watercolor, tissue and deli).

These are prints on deli paper (12"x12")...the one on the right isn't that bad and I'm sure can add another stencil or ghost print to enhance it.


This is also on deli paper and will work good as a background or add more to it.  The colors are nice...again, this was just picking up what was left on the gelli plate.


This is a large piece of tissue paper...well, it was just handy.  I started to use it to 'mop' up stencils and when I didn't want to mess up a clean sheet to clean the gelli plate.


Oh, the layers on this layout sheet of paper!  This layout paper is over 20+"...the piece on the right side isn't too bad..and if you slice the other print into cards, it too might not be that bad.


OK, this is just ugly....the left side is a print from a coloring sheet!  You can barely see the leaf shape!  HA


Again, once these are cut into 4"x6" they might not look that bad.  The one on the right needs a dark stencil on it.  These were printed on watercolor paper, which I thought was too heavy to absorb a good print.  Lesson learned...


Actually, these aren't that bad....they might really make a nice card insert.  This is a sheet of layout paper.

Fun times, right!  My next post will show some mono printing layers that turned out so much better.  


Wednesday, February 17, 2021

Back to basics


I had to do something with the snow dyed fabrics I posted about (here).  


What better use then going back to my quilting roots and do some applique!  Fused, of course!   I didn't say I was going back to the 1800's and making an applique quilt by hand!  HA


...but it was fun to find a picture to use as inspiration! 

I found several pictures of The Bird of Paradise flower, which I think is pretty cool and has similar colors that are in some of my snow dyed pieces.  


Next was to make up a pattern or two!  Or three!


A few patterns....


And auditioning was pretty easy...I fused the back of the fabric before I did any tracing or cutting out.


No real definition yet....


I cut the pattern piece out as one whole flower vs small applique pieces.  


Next out came the colored pencils to do some shading.  I'm sure I'll be adding more definition after the pieces are fused.    

I found a piece of soy wax printing I created last summer in our MIP online class for the background.  I think it works well with the fabrics.  It doesn't show up as the lime green it is but you get the idea!


I'm still working on auditioning different fabrics for leaf and leaf shapes.  And of course different layouts for the flowers.  

The background fabric is 13"x21" but not sure if I'll use landscape or portrait...still quite a ways to go but fun to work on in between other 'things'!

Big snowstorm approaching us this week...temps have been as low as 2 degrees and highs of 20+!   Gotta love Michigan winters!  But at least we still have electricity and don't have to drive anywhere!!


Monday, February 15, 2021

Finished Collage


 I finally finished a small, paper collage piece I was working on this past winter.  I'm happy with how it turned out and will sit it on one of the end tables either in LR, computer room or where ever there's an empty space!  HA


I didn't do a lot of free motion quilting....seemed strange to do any sewing since I haven't done any quilting in months!!!


Fortunately, I have more than enough threads of every color!!!


Yes, I am hung up on using black and white for bindings.  That's due to my bud, Mary, who does so many great quilt piece of art work.  She uses b/w often in her work and she's also to blame for me cutting up old quilts for other uses!  HA  Mary cuts up her quilts all the time!

This piece is all paper (with exception of binding) and measures 10"x10".


I have a post on more mono printing coming later this week but showing more layering techniques.  Some are duds and some turned out great.  My plan is to use these mono prints as inserts for cards that I send out to friends.  


I used this type of card for inserting Valentines several years ago.  This picture shows my fiber Valentine inserts from 2019.  I got this idea from Mary Ann Van Soest!  Thanks, Mary Ann!)  I think using some of my  printed papers will fill the insert and hopefully look nice to receive.  Not sure if I'll do any stitching on the papers or not.  Time will tell!

Saturday, February 13, 2021

Dog Food Time (again!)


 Making the "girls" their dog food isn't a quick process (takes me 2 hrs from start to finish - cleanup)...but my daughter, Dawn, and hubby offered some good shortcuts.

It's always hard to cook 6lbs of ground turkey (stirring is a bugger!) so my daughter suggested to use the instant pot to cook the turkey! I can only fit 2lbs at a time and so after 3 sessions the ground turkey is cooked.

Part of the cooking process is chopping up the ground cooked turkey...again, hard on the arms/hands...so hubby suggested I use my food processor! Well, guess what, that works like a charm! I put a pound in at a time, then transfer to my large cooking pot! Once all are chopped I can add my veggies (spinach, carrots, zucchini) and rice to the turkey! Mix it all up and done (after 2 hours)! Now the girls have their food for about 10-2 weeks. Works for me!


This is my sewing room right now


...I'm cutting up some of my snow dyes...thinking of doing an appliqued small piece...but I've changed my mind twice already on a pattern so who knows what or if I'll end up with something...


I'm also doing some more mono printing! HA Just can't stop!!