My Favorite Books

Tuesday, August 27, 2019

Octopus Sketchbook

We were being shown by Hilary how to make a collage using our painted/stamped/dyed deli/lightweight papers.  I had ordered this  Octopus sketchbook about a month ago and thought this would be a perfect place for me to collage some of my papers!  You have four panels on each section to use for drawing, collage work, painting, etc. 


This leaf was printed recently on deli paper and the background was a blotted piece of deli paper.  If you look really close, you'll see a pale/white bird I collaged down (top area).


These deli paper leaves were a 'blotting' from one of my mono prints.  The yellow pieces collaged under them was a leftover 'blot' from some other print.


A larger leaf blot and several different pieces of deli papers collaged onto the page.


These leaves I cut out of a stencil piece of lightweight paper I did this past winter.  The yellow/orange leaves were from another deli blotted piece.


This is the cover of the book, which I'll have to do something to enhance it.  Perhaps some zentangles in white pen! 


It was fun to layer pieces of the papers into a collage.  I have lots of leaf prints and think this book will be filled quickly...after I order more matt medium...I ran out on the 4th page.  So I best get busy and get an order in!!!

Friday, August 23, 2019

More screen printing with paints

Sometimes you just can't stop playing!  This week we're using leaves to screen print on fabric and/or paper.  Here are some of my playtime results!  Once again, screen printing with leaves on left and after (over dyeing) on the right...these were done on paper. 


This was the first print...I used some weed that I found but it didn't print very well.   Kinda ugly but you gotta show the good and the bad, right!


Think there were several different leaves I used in this one!


I think this is a milk weed???


Now this was a weed...kinda like little pine stems...Bob thought it was weird but I really like the print.  Actually, I liked it better before dyeing the white.  But, oh well!


I wanted to print on fabric and decided to cheat and use some of my previous not so great over dyed/masked prints on fabric.  Worked out pretty good and I didn't have to over dye them!  Good use for this pale mask printed fabric!


Ditto here too...this pic (on left) was quite pale after printing with mask/dyes...and I used that pine needle weed again!

This one turned out pretty good.   It's actually really a deep orange at the bottom..doesn't show up that well in this picture but the green is brighter/deeper and looks good against the orange.


This is the only one I left 'as is'...no over dyeing.  Yet!  Don't think I will...I did try to print some areas of the white with the paint remaining on the leaf. 

Just having fun!  I'm also working on using some of the deli paper prints  and putting them on pages in my  Octopus Sketchbook.  Hilary showed this book or maybe it was one of our group in the MIP online class who showed it.  Cool book that has 8 concertina arms with 4 panels to work on each side.  I've only got 4 panels filled in so far.  Good way to use the deli papers...most of the time we use them to blot the excess  paints from the paper or fabric we're printing.   Should be able to post this weekend a picture of what I have so far. 

Tuesday, August 20, 2019

Screen printing with masks and paints!

Yep..we are screen printing with 'paints' rather than thickened dyes this lesson in our MIP online class with Hilary!  I wasn't so keen on this and had a few issues with my masks but I did 'hang in there' and I'm actually fairly happy with my results.  I love any geometric designs and I think these will be great to work with!!   Year 'two' of our MIP class will work with design.  Woot woot!

My mask went by the wayside so I can't show what I used but I'm sure you get the idea of what I was trying to print.  Left side pics show the screen print and the right side is after over dyeing with fiber reactive dyes.


Not very pretty at all!!!  Not sure what the dark blob was all about!  Think I was frustrated by this point.  HA


Actually, this one and the one above turned out pretty good after over dyeing. 


This was the mask I used for printing the following pieces.  I used the positive and negative masks from this drawing.


I like the colors in most of these


this was the only piece of fabric I printed.  It's at least 35" inches long but only about 18" wide.  I'm not sure what kind of fabric...probably bleached muslin...rough feel to the fabric before painting and it had some stamping in the middle...don't remember when I did that...years ago I'm sure!  HA

All in all this was an interesting lesson!  I think I prefer using thickened dyes for screen printing but you never know when I just might need to use paints instead!  At least now I'll know how the paint reacts and how I react to screen printing with paint!


Wednesday, August 14, 2019

Another book finished!

This was a fun book to work on and great way to do some hand embroidery!  I think about 6 pages  are machine stitched, as are the spine covers..all the other pages are hand stitched.  The book is 5"x5" and each page is covered in papers I made in the MIP online class with Hilary B.   Some pages are printed, some are scrap prints used to blot my pages with and some are over dyed with procion dyes.
 front cover


Front cover


Back cover


And spine which is hand woven with Perle cotton.


Just a few pages hand stitched.....


And here is an animation of the 30 pages (15 signatures)!  Hope it's not too fast!!


Sunday, August 11, 2019

More screen printing

We've had the past two weeks off from our MIP online class with Hilary.  She was vending and doing demo's at the Festival of Quilts in the UK.  So rather than get out of the swing of things I decided to do some more screen printing.

I've actually decided why I like deconstructed screen printing better than printing with a mask, etc.  With deconstructed printing, I don't have to think about a pattern or a design!  I just lay whatever items I find laying around or pieces of papers/bubble wrap/etc. that I've saved on my screen.  Easy!  This printing with a mask takes some thought!


Here are the masks I was using the past two weeks.  The leaf mask was starting to rip so I did make a new one to use.


Some of my results!

This was the first pass....the last orange picture below is this piece after several printing 'sessions'!  HA


This is piece above after I added additional printing.


I may use some of these to screen print over again.  I think we'll be using leaves or nature to screen print with in our next lesson.  Can't see using the orange/terra cotta pieces so they might work well with brown leaves! 


This piece was stamped three different times...allowing each printing to dry in between.  I  presoaked my fabric(s) in soda ash solution before the original printing.  This was printed on cotton sateen.


This was printed on poplin.  I'm quite happy with the leaf mask pieces.  Think they will make a nice table topper. 


I plan on dyeing the background(s) on each of these at some point.  I'll just do low water immersion...well, that's my thought today!  Who knows what I'll end up doing at a later date!

Friday, August 9, 2019

Happy 20th Birthday, Amber!


Amber's 20th birthday was last Friday but we celebrate a few days late this past weekend.  Darrin smoked pork...yum...yum....It had such great flavor!!!  And we had leftovers for the next day!!

Kris did her normal wonderful hostess bit with all the fixings....buns, cole slaw, roasted potatoes, large fruit bowl, corn on the cob....and of course, we ate appetizers before hand!!  Yes, we were all stuffed!  Well, Bob and I were that's for sure!  HA


Here is our beautiful birthday girl!!  


Her dad teased her quite a bit about blowing out the candles.


And the cake was delicious...well, I only tasted some crumbs.  Bob and I were so full we took our cake home to eat the next day!


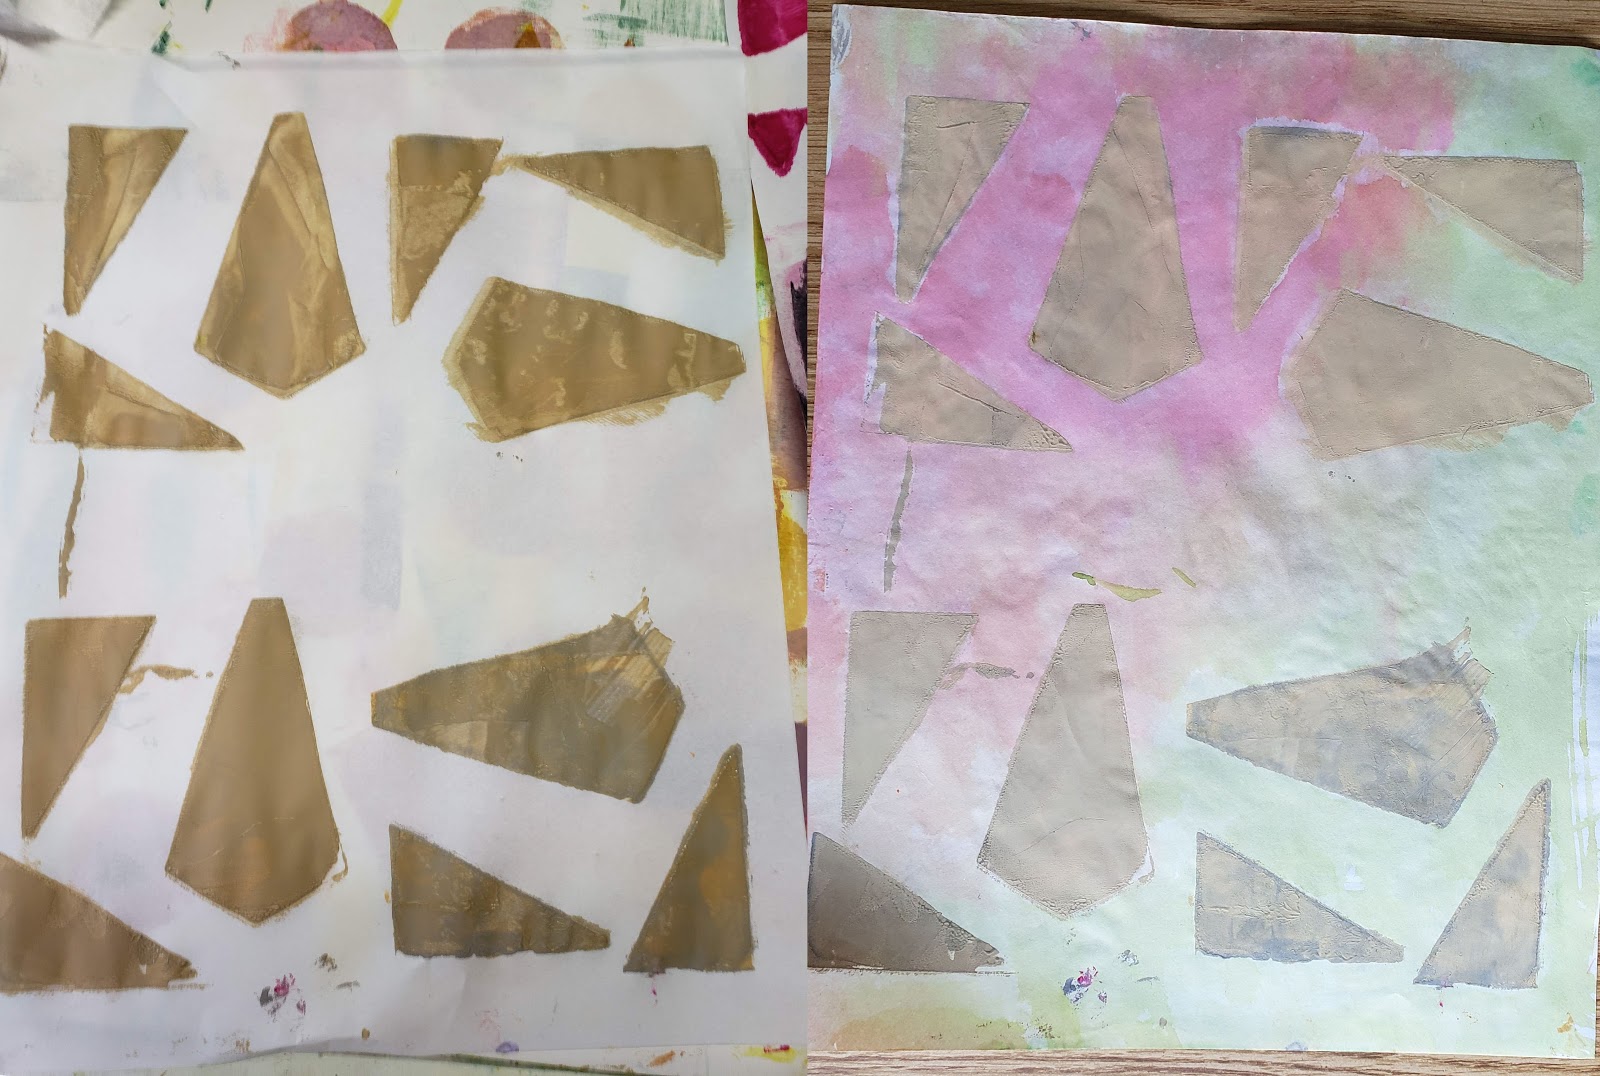
At 20, it's hard to purchase birthday gifts, so I gave Amber four gift cards (Taco Bell, Panera, Starbucks - all close to her college!  And a Visa gift card).  I decided to make a squash book to hold the cards and that worked out great!   I used my stenciled/over dyed papers I've been working on this year.

My bud, Mary, suggested I hold the gift cards in place with those little circle glue thingies.  Worked out great!


The back of the book shows the black card stock so I wrote little notes from 'grandma' in white gel pen. I forgot to take a picture but you can see some of the white lettering in this picture of Amber looking at the cards!

Amber really like her gift and she mentioned to me me that she's never spent the 50 $1 bills I made into a pad for her birthday in 2017!  You can read about that 'dollar pad' here.    I said "you haven't spent it!"  She and her mom said not one dollar!  I wrote little notes to her on each bill (you can see some of the writings in the post link above).  How sweet is that!  I told her to spend them...and just think you'll make some one's day when they read the notes (e.g.  you are beautiful, you are radiant).  Maybe she might spend them now!  HA  Now to think of what I can do for Nick's birthday in September!  Sometimes it's hard being a grandma!!  But I love it!