My Favorite Books

Showing posts with label free to be. Show all posts

Thursday, April 26, 2018

More Solar Fast!

Here are some of Nancy and Beth's pieces from our play date last Saturday!  This was Nancy tryig to encourage her prints!


Nancy got some interesting results using stencils!


The dark blue piece was a  Cyano piece Nancy was playing with.  


I love the stencils Nancy used in both these pieces!

Pretty cool isn't it!


Nancy got a really subtle imprint using the Solar Fast on this piece.


Another nice stenciled piece by Nancy


Beth got busy right away!


Beth used some x-rays given to her.  The results weren't great for an imprint but it still would work for a background piece! 
What was left after using the x-rays and Inkodye.  I really like it!


Beth used real leaves and different colors of Inkodye and I think she also used some Solar Fast as well.


If you look close,  you can see stencils of faces Beth did.  I suggested she paint Inkodye on top of the fabric (heavier coat) then lay the stencils back down and let the sun do it's magic!
Beth also used the writing thermofax and screen printed the tree and words.

Ginko leaves screen printed on Beth's dyed fabric.  very pretty!


Again, screen printed leaves on Beth's hand dyed or ice dyed fabric(s).


All in all I think the results were pretty good!  It was overcast from time to time but we still got some nice results!  I look forward to 2019 and sharing techniques again!

Thursday, April 19, 2018

Bleeding Tissue Paper

I thought I had published more pics from our day of playing with bleeding tissue paper but I  must have put it on our own blog vs mine.  So here is what we did last month in our little art group.  We're meeting Friday so I'll post the results next week!  Enjoy!

We  met at Beth's with her demonstrating using bleeding tissue paper on fabric and watercolor paper!  I think we got some good results.

These are from class Nancy took a few years ago...good info!


Beth layering tissue paper

Soda ash water applied via spray/dropper/brush

Robbie's tissue on fabric

Nancy cutting tissue on fabric

Kathy's landscape

Kathy's landscape after she applied water!

Robbie's fabric covered

Same fabric but addition of commercial fabric laid on top

Beth's printed piece she didn't like...bet it's one of her favorites now!

Kathy's vase...I mean tree...I mean cat!!  We can't decide!

Beth layering tissue on watercolor paper

water applied...cool piece

Monday, March 26, 2018

Playtime with bleeding tissue paper!

I do have another food/friend post but thought I'd first share what our little art group gathering did last Friday!  Bleeding tissue paper on fabric and watercolor paper! 

I think years ago we played with bleeding tissue paper, as the process seemed so familiar, but lucky for me my old age doesn't allow me to totally remember so this was a fun technique to try (again??)!  I'm going to be selfish and show my pieces since I only did 3 and they are all dry so I could take pics after they were dry.    I'll post what the ladies' did in my next post. 

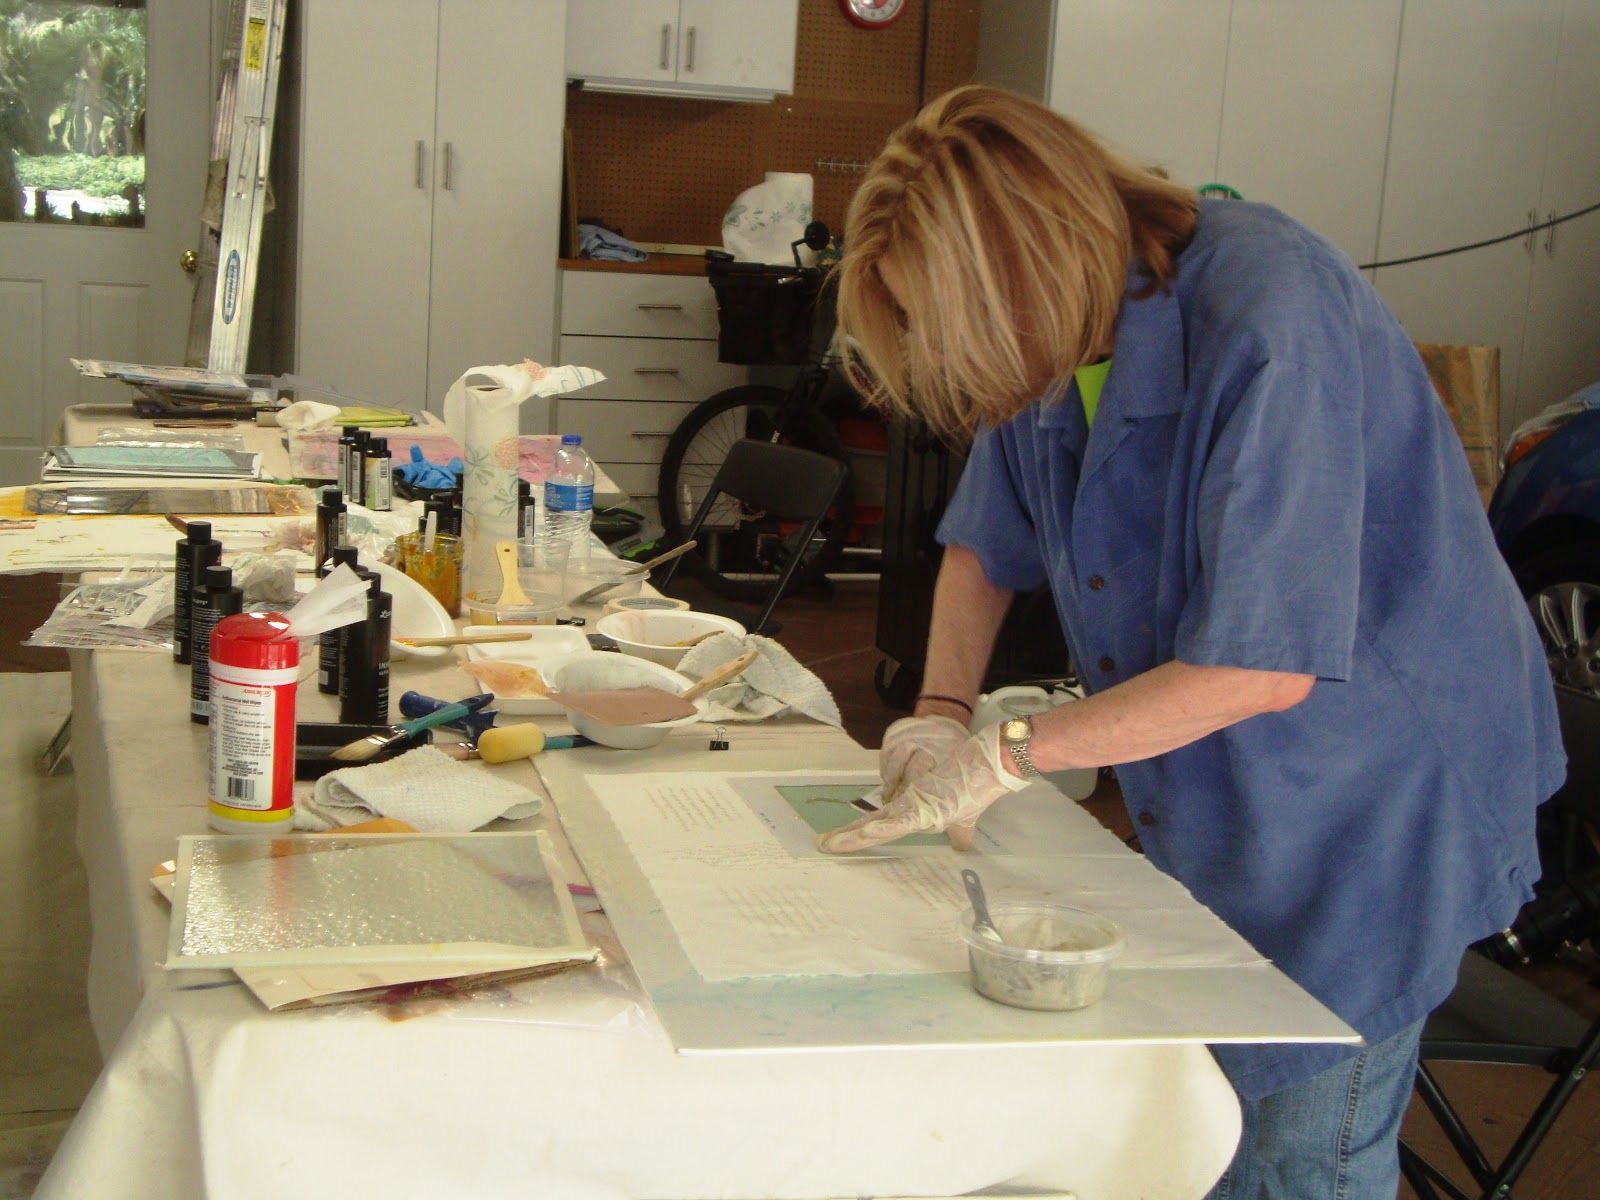
First off, our instructor for the day was Beth...and she was very well prepared.  We started off with laying the tissue  paper in strips/whatever size or shape and placed any which way on our fabric.

At this point, you have lots of options....spray with water, brush water on top of the paper or use a dropper to drop water on (thanks to Nancy who gave each of us a really nice large dropper!).  Now you just wait for the tissue paper/fabric to dry!    That's always the hard part isn't it!


This was a piece of watercolor paper that Beth played with.  Cool!
circles of tissue paper cut and laid on watercolor paper and water applied

Beth tilted the paper after she applied the water.  

This was my first attempt at placing the tissue paper.  My fabric was just a cheap cotton from JoAnn's..nothing special.

And this is how it turned out after drying!  Not bad is it!


Next up I used green.  One suggestion given to us by Nancy (who has played with bleeding tissue paper before) was to layer the papers, which will give you more intense color.  Good tip!


This piece was very wet and I didn't want to get another piece of fabric/tissue paper out so I placed a small piece of white commercial tone on tone fabric on top! 

This is the piece dried (the bottom piece!)...actually, this was a piece of screen printing that lost some of it's color...here's what it looked like before I washed it and lost all of the color....long story but I forgot to wrap the print and let cure for 24-48 hours.  UGH...dumb mistake...see it's that memory thing again!


You can see some of the brown showing through.  Really the piece looks pretty good and I know I can use it.

This is the front of the commerical tone on tone, which was laid on top.

and the back of it...which I really like...

This was a piece of deli paper that Nancy gave each of us to play with.  It's really cool and and I can't wait to do something with it. I'm thinking using it in some paper/fabric piece. 

I have to say this was quite an easy technique.  But I also have to say I don't intend to wash my pieces.  First off, some say the dye from the tissue paper will fad but Beth did have us use soda ash water to spray with, so we're hoping that will help with retaining most of the color.  I don't want to take a chance because I love the colors I got.

 99% of my work is to hang on walls...if I'm making hum bug bags or some other gift for others, then I make sure to use my hand dyes or commercial fabric I have washed.  Next post I will show what the other ladies did with the tissue paper.  I won't have their end result pictures until next month but at least you'll see can see how they started out.   Stay tuned!

Monday, February 19, 2018

Tyvek/Play Day 1

This past Saturday Nancy, Beth and I got together to play with burning Tyvek.  We used Lynda Monk's process from her book Fabulous Surfaces.  You can see on this post that shows how I've used tyvek in my art work, which was quite different from Lynda's process.  But it was still a fun day.  We learned quite a bit and the ladies created some cool pieces!  Enjoy day 1 - Day 2 will be show and tell from the ladies!

My samples - fabric tyvek on left - paper tyvek on right

I used acrylic paint on paper tyvek and Procion dyes on fabric tyvek

Nancy painting tyvek

Beth painting tyvek bubble envelope - didn't burn!  Good test!

More of Nancy's painted tyvek paper

Beth getting ready to burn tyvek

Nancy burning away!

Beth's burnt piece!  She ironed different painted strips.

Nancy's painted tyvek.  Cool!

Hard to see but I stamped and rolled Gesso on my piece

Another of my pieces with foiling and burnt tyvek fabric

Nancy's tyvek with foiling on borders

More of Beth using pieces of tyvek

Another of Beth's burning!

A great piece by Nancy!

More of Nancy's finished pieces!

All in all we had a great day and great tuna salad provided by Nancy!  Of course, dessert was waiting for us too!  Next post will show some of the work ladies have done!